Mastering Dog Photography Tips for Stunning Instagram Posts
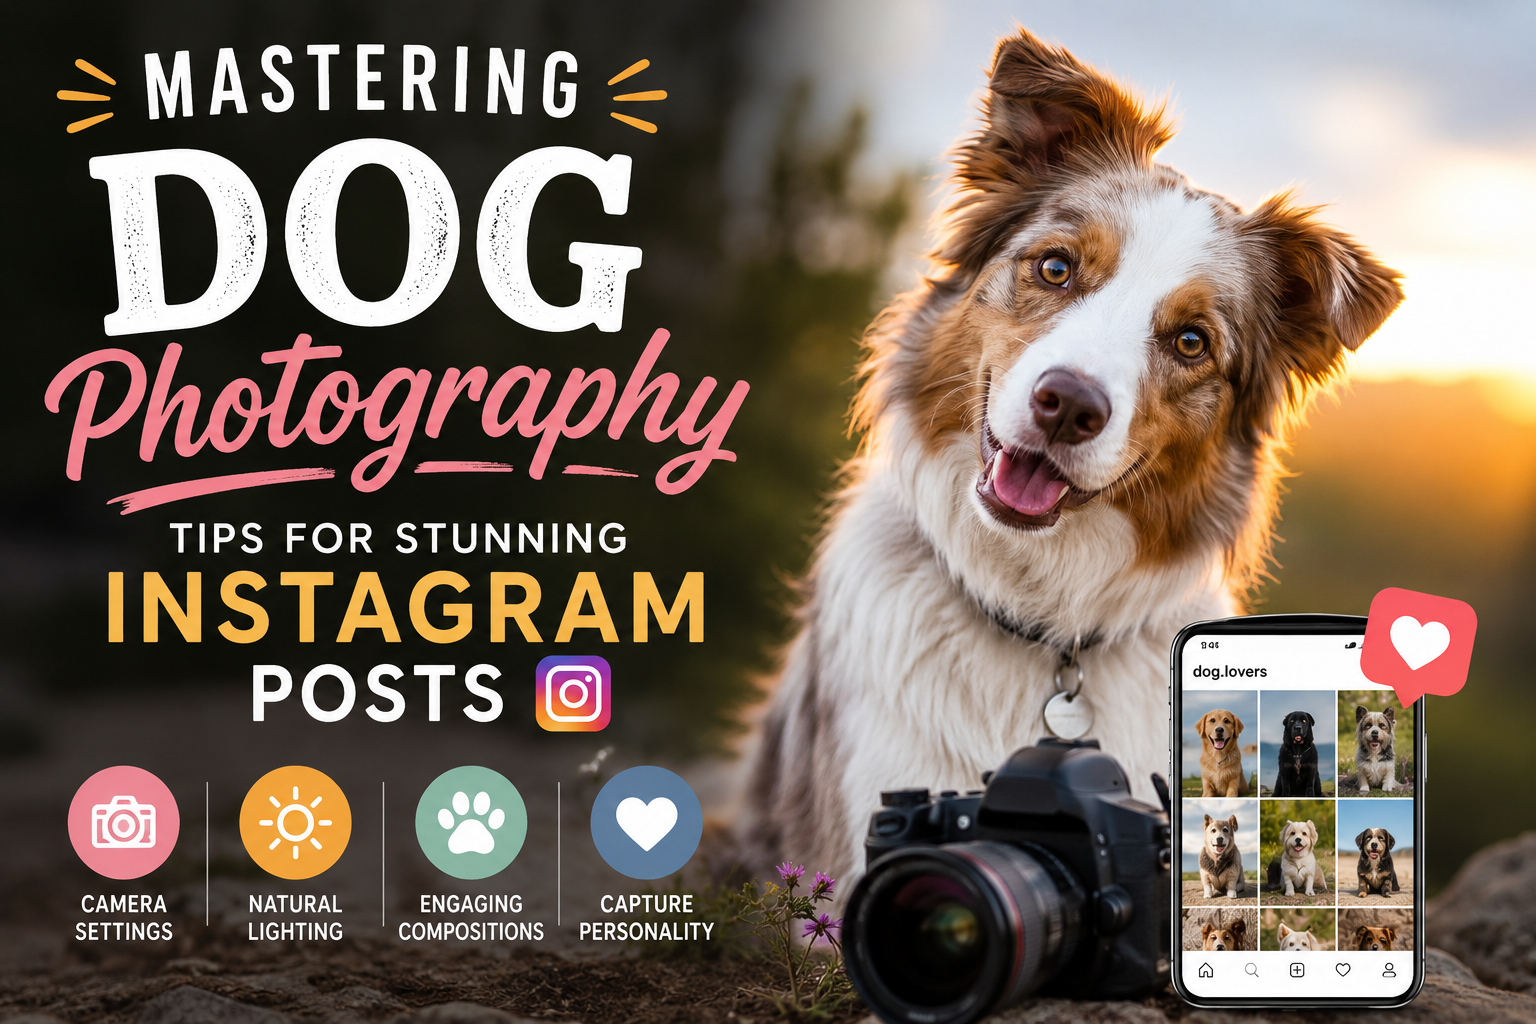
For casual Instagram posters and everyday dog owners, the gap between real life and polished Instagram dog photos can feel frustratingly wide. Common dog photography challenges show up fast: blur from sudden movement, pet photo quality issues from harsh or dim light, and backgrounds that make the subject disappear. Even when focus is sharp, capturing dog expressions is tough, one second is soulful, the next is a yawn or a mid-blink. Add shaky clips and flat dog video composition, and the result rarely matches the moment everyone saw in person.
Dial In Gear, Light, Angles, and Timing in 7 Moves
The fixes for blurry motion, awkward expressions, and flat-looking video usually aren’t complicated, they’re small, repeatable choices. Use these seven moves to get sharper shots, better color, and more “you had to be there” energy in both photos and clips.
Lock in stability with an adjustable tripod: Set an adjustable tripod for pet photography to your dog’s eye level, not your standing height, this instantly makes the frame feel more intimate and less like a snapshot. For action, lower it even more to keep paws and face in the same plane of focus. If your dog paces, mark a “shooting spot” with a toy so you can keep the tripod position consistent while you reset the dog.
Use a remote shutter to capture the real expression: A remote shutter use setup lets you step away from the camera, so your dog looks at you instead of the lens barrel. Pre-focus on the spot where you want them to sit, then trigger a burst right as you cue “look” or “stay.” This is one of the cleanest ways to beat those micro-blinks and head turns that cause awkward expressions.
Choose soft natural light and fix color before you shoot: Aim for open shade or window light where the light is even across the face, harsh sun creates shiny highlights on noses and deep shadow eye sockets. Set white balance intentionally; wrong color temperature can make dark coats skew blue/magenta or white coats turn yellow, which is hard to fully “save” later. A simple rule: if the whites of the eyes or teeth look tinted, correct your white balance and try again.
Pick dog-friendly photo locations that simplify the background: Look for quiet, low-distraction spots with clean lines and distance behind your dog, wide paths, empty fields, calm beaches, or a plain fence line all work. If you’re shooting in a park, rotate your angle until the background is 10–20 feet behind your dog to reduce clutter. This also helps video composition: fewer people and moving objects means your dog stays the star.
Work three flattering photo angles for dogs before you change locations: Start with eye level for connection, then drop to chest level for a “big world, brave dog” look, then go slightly above for a tidy portrait that minimizes double chins and emphasizes eyes. Take 10–15 frames per angle with small adjustments, one step left or right can remove a trash can or busy sign from the background. Keeping the angle plan prevents random shooting that often leads to flat compositions.
Use depth of field and shutter speed to control motion blur: If your camera allows it, try a wide aperture for a blurry background that makes your dog pop. For fast movement, prioritize a faster shutter speed (and raise ISO if needed) so fur and eyes stay sharp; blur looks “artsy” on the background, not on the face. For video, don’t chase the dog with constant zoom, move your feet and keep the framing steady.
Practice patience-first pacing (it upgrades photos and clips): Plan for 3–5 minutes of shooting, then 2 minutes of sniffing/water, then another short set, most dogs give their best attention in brief rounds. Reward calm holds and end on a win, even if it’s just one sharp photo with a good expression. This rhythm reduces stress, cuts frantic motion blur, and leaves you with fewer near-duplicates to sort later.
Turn Your Best Shots Into a Shareable Dog Photo Album
Once you’ve nailed the light and timing, make your best moments easier to revisit and share by turning them into a simple pet photo album. Gather your favorite images into one organized collection you can send to friends or keep as a tidy record for later. Saving the album as a PDF can be especially handy because it bundles multiple photos into a single file that’s easy to share and view consistently across devices. If your pictures are already image files, a JPG-to-PDF converter can speed things up, tools to change JPGs to a PDF format help you turn a set of shots into one shareable document in minutes. Next, we’ll tackle how to keep your dog engaged and your photos sharp.
Dog Instagram Photo FAQs (Quick Fixes That Work)
Q: What are the most common mistakes people make photographing dogs for Instagram?
A: Shooting from standing height often makes your dog look small and distracts from expression, so crouch to eye level. Another common miss is focusing on the nose or background instead of your dog’s face. Prioritize focus on the eyes for a stronger, more connected look.
Q: How do I get eye contact without stressing my dog out?
A: Hold a treat or favorite toy right next to your lens, then reward the instant your dog looks toward it. Keep sessions short and upbeat, and stop before your dog gets restless. A simple “look” cue at home makes this easier outdoors.
Q: What camera settings should I start with for sharp pet photos?
A: Use a fast shutter speed to freeze tiny head turns and tail wiggles, and raise ISO if needed. Many pet shooters find the minimum is 1/400 sec a reliable baseline. If you can, shoot in burst mode so one frame lands perfectly.
Q: Can I capture good dog videos on my phone, or do I need a camera?
A: A phone is plenty if you have bright light and keep the lens clean. Tap to lock focus on your dog’s eyes, then slightly underexpose so highlights do not blow out. Record short clips and repeat the action a few times.
Q: What should I do when my dog suddenly zooms off or ignores me mid-shoot?
A: Switch to candid mode and film from where you are, letting your dog move naturally for a few seconds. Then reset with a quick sniff break and return to one simple behavior like sit or stay. If your dog is overstimulated, end on a win and try again later.
Before You Hit Record: Dog Content Checklist
This quick pet photography checklist helps you prep fast, shoot calmly, and come home with keepers instead of chaos. Run through it once, then focus on your dog’s personality.
✔ Clean your lens and clear the background
✔ Pack treats, a squeaker, and a poop bag
✔ Set your shutter fast and enable burst mode
✔ Choose bright shade or soft window light
✔ Get to your dog’s eye level before framing
✔ Tap or lock focus on the eyes
✔ Record 5 to 10 second clips and repeat the action
Check these off, then shoot with confidence.
Turn Simple Prep Into Consistently Better Dog Posts
Getting a great shot of a fast-moving dog can feel like a mix of luck, blurry misses, and missed moments. A consistent approach, using the checklist mindset, quick prep, and purposeful choices, keeps sessions calm and repeatable, which is key for motivating pet photographers focused on improving dog photo skills. The payoff is more keepers, clearer storytelling, and steadily capturing Instagram-worthy pets while reflecting on photography progress from post to post. Consistency beats perfection when photographing dogs. Choose one technique to practice on the next shoot, then note what improved and what to tweak to keep increasing pet photo creativity. That small habit builds confidence, deepens connection, and makes sharing life with a dog feel easier and more meaningful over time.